

Paint & Graphics
Paint: I decided to paint the cabinet with rattle cans because I didn't have any sort of painting equipment and didn't know much of anything about painting. And I had some vague notion that it wasn't a good idea to mix vinyl graphics and latex paint. There were no latex worries with spray cans.
MDF is notorious for slurping up paint like a sponge. I started off using filler primer with a light sanding after one or two coats. In total it took three to four coats and a few sanding sessions to get a smooth even finish. I went through about a dozen cans of primer. Having a clip-on trigger handle for the paint cans was a necessity. Having an orbital sander was handy.
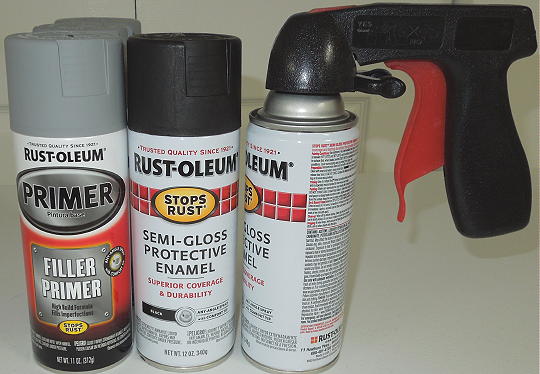
Paint supplies.
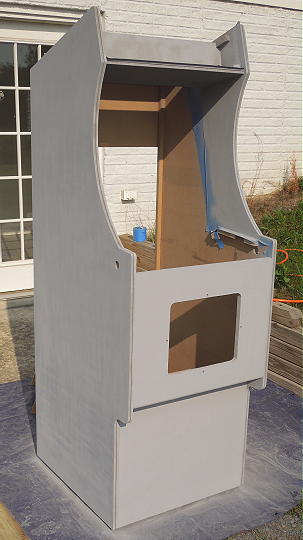
Somewhere in the fog of primer.
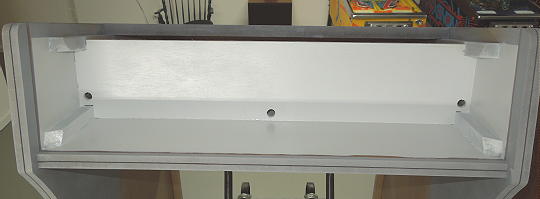
I sprayed the marquee compartment gloss white.
I have to say I was impressed with the accuracy of my joinery. Everything was straight and tight and I did virtually no caulking as is recommended in The Geek Pub videos.
Next I moved on to semi-gloss black paint. Again I applied three to four coats with intermediate sandings. Again I went through about a dozen cans. This was even more tedious than the primer because the black is thinner and more prone to runs. Patience was the word of the day. Eventually I got a solid consistent finish. Note that I masked off around the control panel and monitor frame. I didn't want to build up a thick layer of paint where parts already fit well. I removed the masking for my final coat of black and gave the whole interior a light coat.

Somewhere in the fog of black.
Between dealing with the main cabinet structure I worked on the smaller components such as the access panels, monitor frame and control panel.
The trackball mounting plate needed to become a permanent part of the control panel because the plate was going to be sandwiched between the control panel itself and the control panel overlay. To that end, I bolted the plate in place and started skimming it over with layers of spot putty and filler primer.
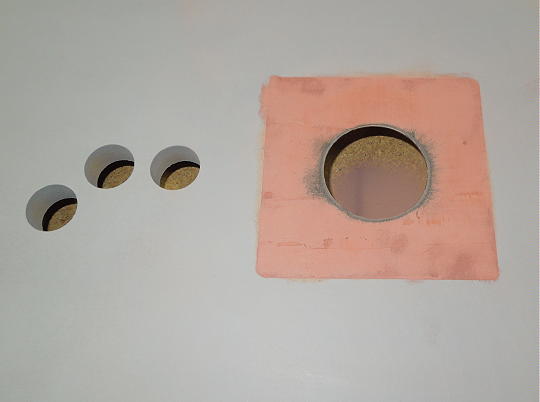
Fitting the trackball mounting plate.
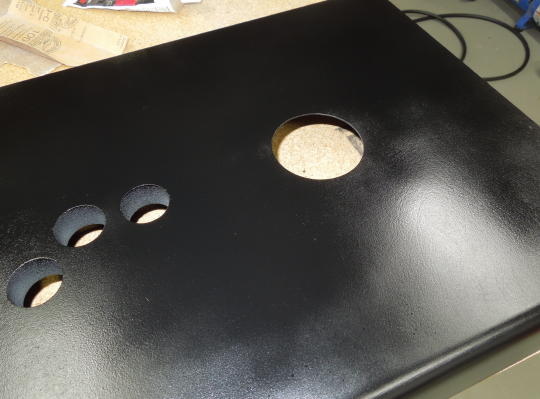
The mounting plate disappeared after a few coats of black.
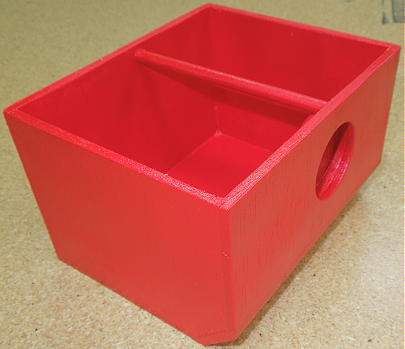
Just for fun I sprayed my cashbox red.
I may have been over meticulous with the painting, but it turned out pretty slick and should provide a solid foundation for the graphics. After finishing all the painting, I walked away for a few weeks so the paint had plenty of time to harden.
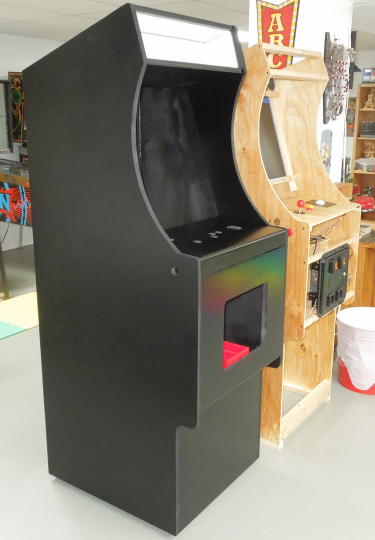
Painting done!
Graphics: I didn't expect I'd ever be fully satisfied with my graphics package. I'm not creative enough to know what I want let alone put it together. I'm on the fence with respect to the classic video game cabinet graphics. I like the art itself, but always thought it was disingenuous in a false advertising sort of way. I would have liked to have found a multicade package featuring the actual character sprites in all their on-screen pixelated glory. But those choices where limited. There were plenty of conventional multicade packages. But I'd always spot a character that wasn't included on my 60 in 1 game list (Q*bert and Joust being the two biggest offenders). What I really would have liked was a simple two or three color stencil package in the vein of some of the earliest arcade cabinets. But I don't like painting and I didn't think I'd have the patience to pull it off.
In the end I settled for a generic Space Invaders package from Game On Grafix at gameongrafix.com. I have no particular affinity with Space Invaders. But no one is going to look at my cabinet and mistake it for anything other than a video game. The phrase "Arcade Classics" is often associated with the 60 in 1 so that's the name I picked.
The overall look of the cabinet will be fairly conservative with nothing like color T-molding, lit buttons or blinking lights. To my eye a conservative look is a more authentic, commercial look.
To get started I went to Game On Grafix and ordered a "Mame Invader Marquee" (changed to Arcade Classics) and a "Space Invader Fantasy CPO". The marquee was ordered without adhesive and will be sandwiched between a pair of clear sheets. The control panel overlay (or CPO) was ordered with adhesive and will be stuck to the control panel without any further protection.
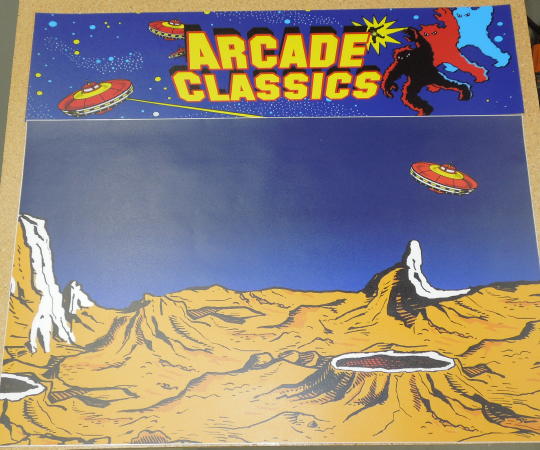
Marquee and CPO.
A few months ago I temporarily moved the monitor from my mockup to the real cabinet and used painter's tape on my acrylic bezel to help establish the inner dimensions for my bezel art. I played a bunch of different games to ensure the tape didn't block any part of any image. There's a bit of a tunnel effect to this because the surface of the monitor is a fraction of an inch back from the surface of the bezel. I adjusted the tape in a way that worked for my height. I already suck at video games. Having the monitor in one cabinet and the controls in another didn't help!
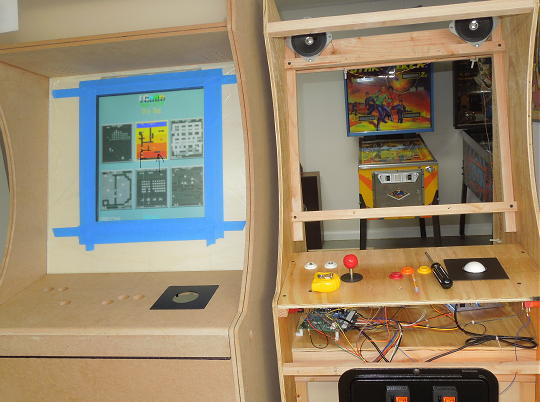
Figuring bezel art dimensions.
Game On Grafix printed me a semi-custom monitor bezel. Starting with their "Mame Invaders" theme bezel, they altered the bottom to match my existing CPO. The bezel was ordered with adhesive. I thought the game would be more comfortable to play if the monitor was positioned up high as close to eye level as practical. From an aesthetic point of view, it may have looked better had I vertically centered the monitor within the monitor frame and bezel.
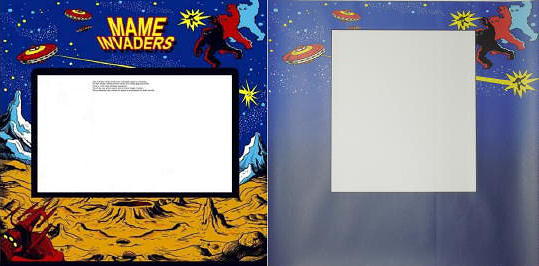
Stock bezel (left) compared to my bezel.

Marquee, bezel and CPO.
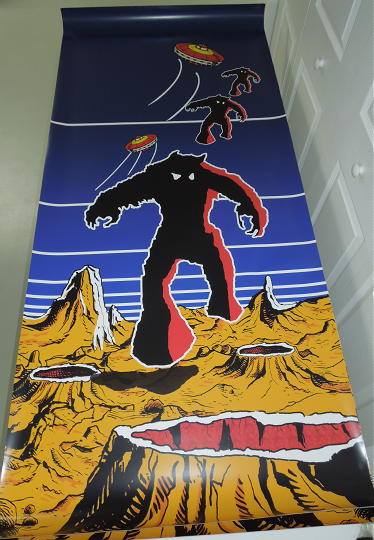
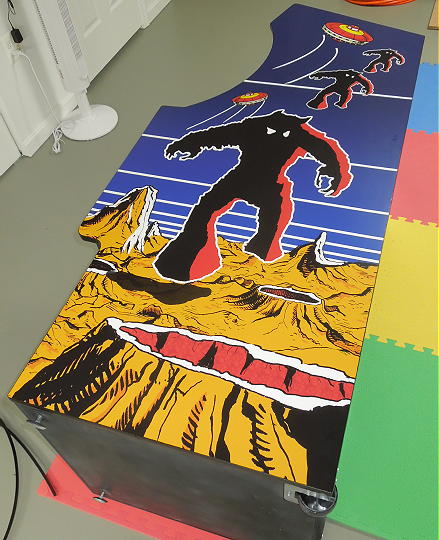
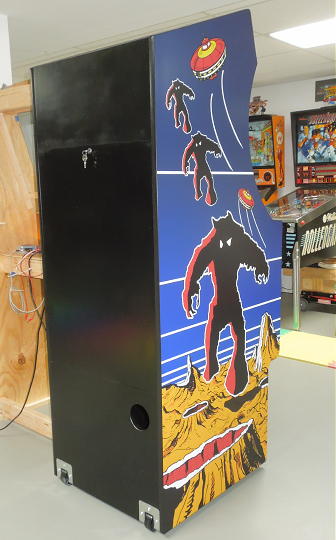
Lastly, here's my "Mame Invaders" side art.
I didn't spend a whole lot of time documenting the overlay installations because I wanted to get it over with. Paint and graphics were the least fun aspects of this project.
The overlays came in tubes and were wound pretty tight. They needed to be weighted down flat, but they started to relax within a few days. I let them sit for a few weeks after which they were flat on their own. All of the overlays were installed dry using the "hinge method" with a felt squeegee (from Game On Grafix) and a second pair of helping hands. There was a good bezel overlay installation video on a YouTube channel called Arcade Graphix. There are plenty of other YouTube videos about everything else. There were also some helpful tips under the FAQ section at the Game On Grafix website.
I put the cabinet down on the floor (with plenty of padding) so I could install the side art from a horizontal position. Before applying the side art I went over the side panels one more time with some 400 grit sandpaper to knock down any last imperfections. Then I thoroughly cleaned the surfaces. I ordered the side art to be about an inch larger than the dimensions of my side panels such that I didn't have to worry about accurately lining up any of the edges. After sticking down and trimming the overlays, but before tapping in the T-molding, I lightly went over the trimmed edges with a black Sharpie. The T-molding was from Amazon. I bought my T-molding many months ago so I was sure I was using the correct slot cutting bit when building the cabinet.
I didn't really plan this, but I like how the UFOs and Aliens sort of sweep away from the top front radius edge of my side panels. I didn't have to trim away any art details. I took my time with the overlays and it all turned out about as perfect as I could have hoped.
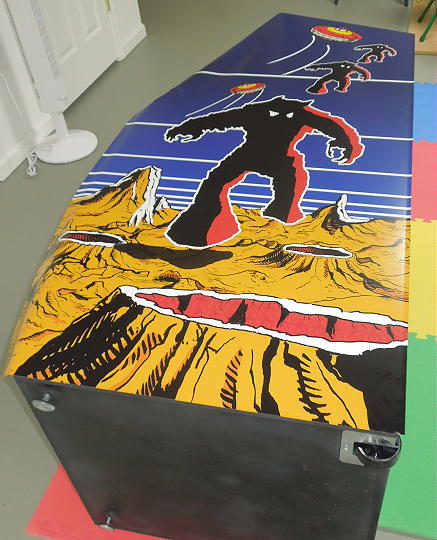
Side art stuck down.
Trimmed with T-molding installed.
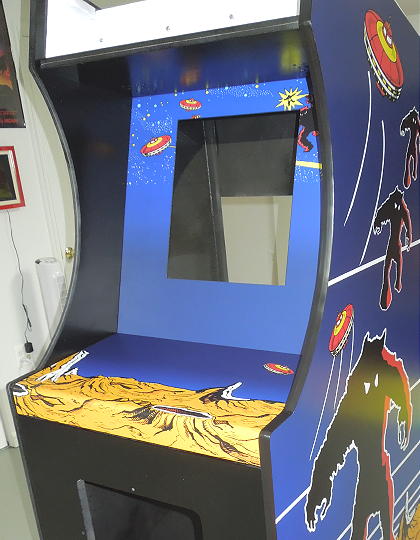
Bezel overlay and CPO installed.
Turns out that T-molding expands as it's pounded in. This I did not realize until I got to the speaker panel which has a front edge contained between the two side panels. My first attempt was a fail. To successfully fill the 23" wide panel I needed a piece of T-molding with an initial length of only about 22¾".
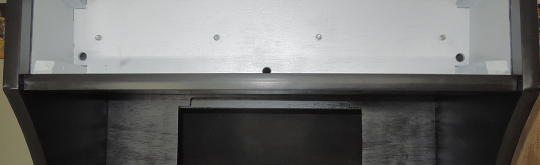
T-molding challenge on the speaker panel.
The marquee was installed between a pair of .093" clear sheets. I salvaged this sheet material from an old poster frame so I don't know what it's made from.
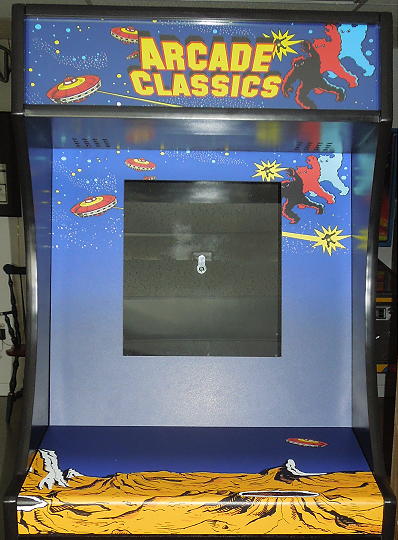
Marquee installed.
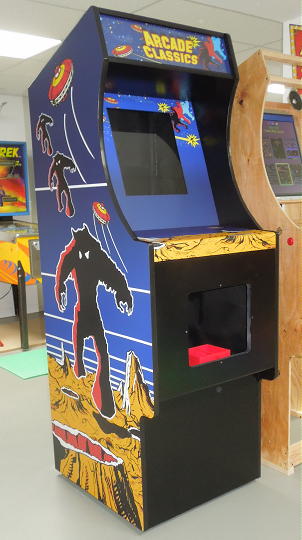
Cabinet done!
On to the next part: Final Assembly & Wiring.
